"http://dddavidsghostcams.org/Privacy_Policy.html" Easy Inexpensive Decorating Ideas, on a Budget: 2018

Friday, October 19, 2018

Scare up a Primitive Sock Ghost or two this Halloween


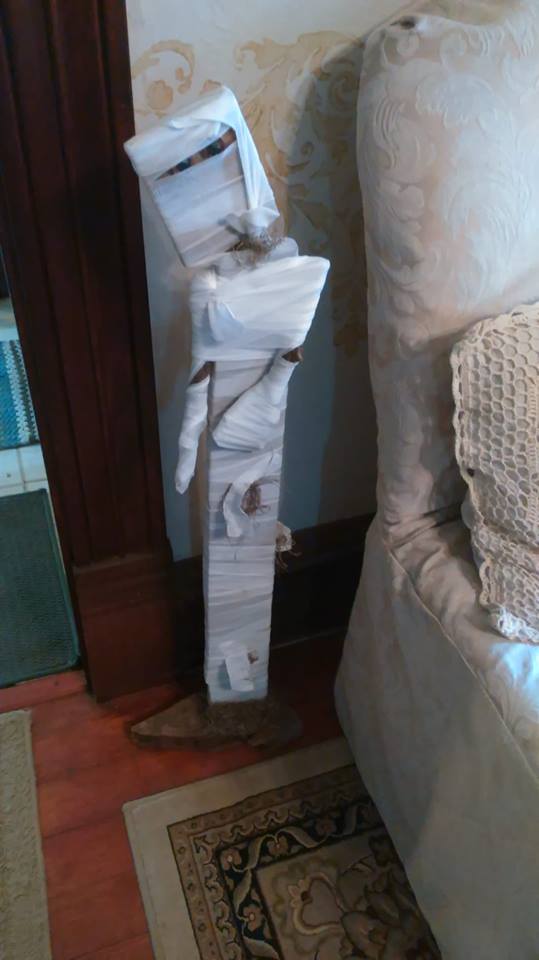
In no time you can have this happy little primitive ghost prominently displayed in your home for Halloween, along with your other cherished things. All you have to do is watch the video below to learn how to make it, or read the instructions below the video. You will be proud to add this new addition to your Halloween Collection.

All you need for this slightly spooky ghost will be an old white sock. I always seem to have those, and with more than a few holes. You will also need a little coffee, or tea, filler for sock, a small stick, some twine, acrylic paint, and a thin marker.
Step One: Dip your sock in coffee, or tea, and let dry overnight. This is to give us that aged look, and it will smell very good for a little while. :)
Step Two: Stuff your sock with some sort of filler (cotton, old rags, whatever you have). This is to form the body of your sock ghost, and will be on the inside of the sock, so it won't be seen.

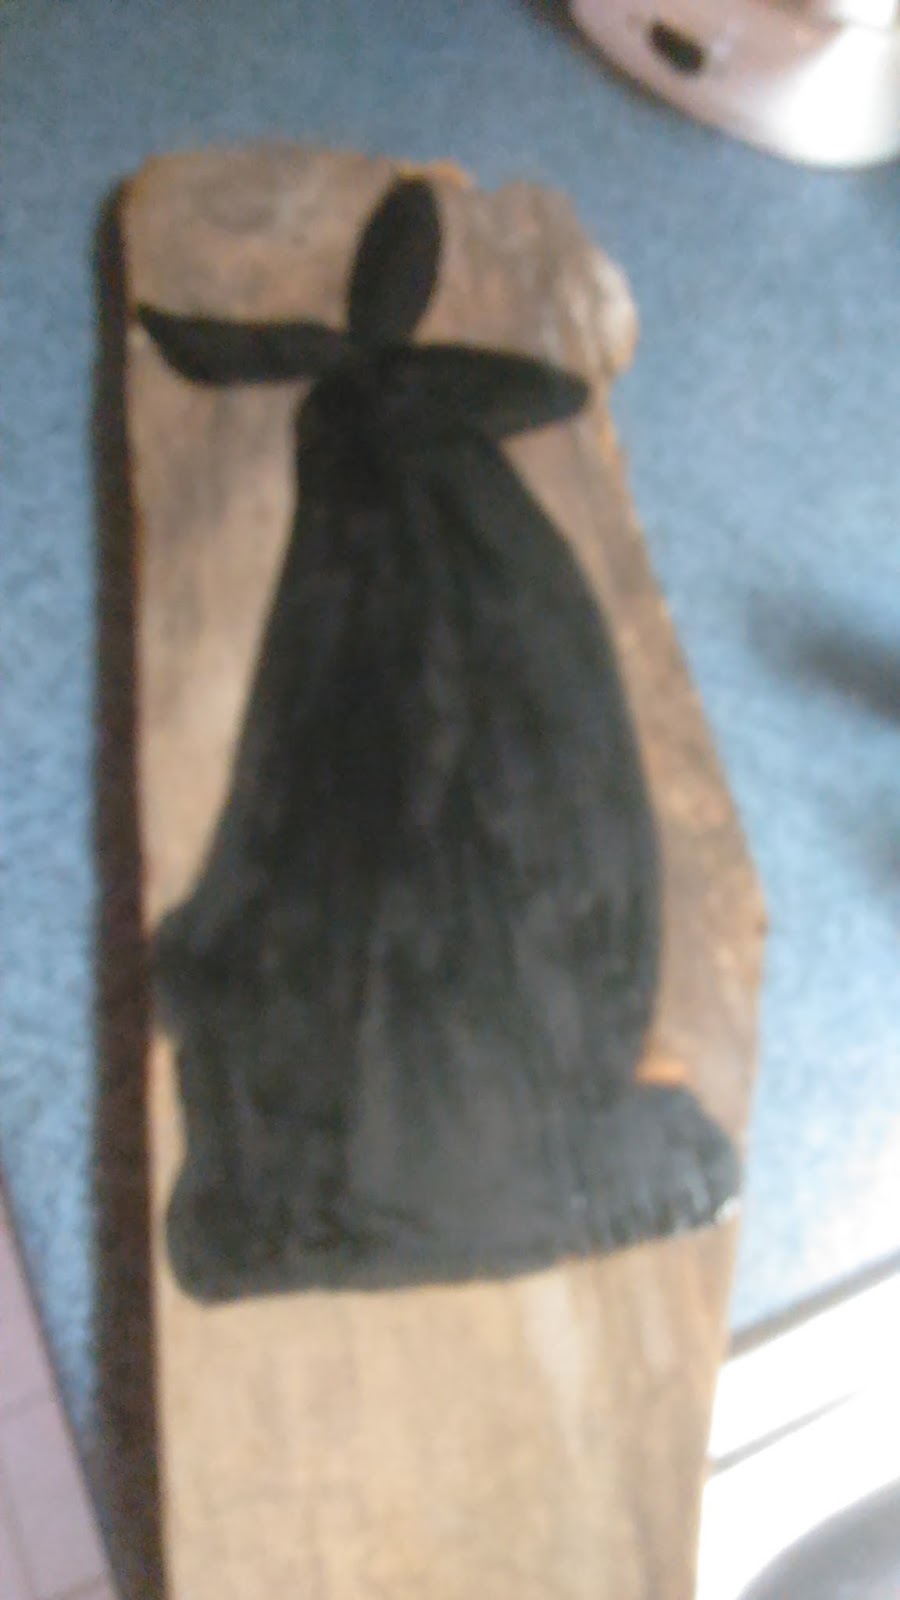
Step Three: Place your stick in the top, and tie it with twine. I'm not sure why, but it gives the ghost a nice look, and we're after a nice finished look. At this point you may wish to adjust the body of your ghost to give it a nice oblong shape. Unless you want a short round ghost. That would be nice too, or even a few with a variety of shapes.

Step Four: Choose the facial features, and colors you would like, and paint it on your sock ghost. If you notice, I chose eyes to resemble small buttons, but if you like, you could sew on real ones as well. Allow the paint to dry before going on to the next step. It won't take very long.

Step Five: Take your marker and simulate sewing lines. This is to also add to that old primitive look.
That's all! You are now ready to find just the right place in your home for your new Ghost to live. At least for a little while.
This is another project that would be easy enough for the kids, and still look very good in the home. Happy Haunting!

Friday, October 12, 2018

How to make your own Fabric Ghost/Spirit for Halloween!

Have your own Resident Ghost this Halloween!

Think of the delight on the faces of your guest when they see your new resident spirit haunting your house. It is not as difficult as you think, and will certainly bring in that Halloween Spirit.

You can either choose to watch the You Tube Video above, or read the step by step directions below, or both! If you have not yet subscribed to the You Tube Channel, please do. I need all of the subscriptions I can get since You Tube changed their rules.

The first thing we do is make a shape for our head. I used plastic bags. Everyone has those, and usually too many. Here is a chance to put them to good use, and do a little de-cluttering of the kitchen at the same time.

Next we need a body. Here I used cardboard, but if you have a large doll, that would work too. Just cover it with plastic first.
When you have the shape you desire for the body, you can attach the head.
You might wish to try out your fabric on your shape to see how it looks.
I think we are getting into the "Spirit" of things here, and can now move on.

Next we move on to the fabric stiffener. I would say, if I should do this again, I will get the spray.
I think we are ready to begin the process. We will be pouring the liquid into the bowl, and placing the fabric into the bowl to cover it with the stiffener. You must cover all of the fabric. This part was very messy!

You are now ready to drape your cloth on to your body.
As you can see, I will be doing this outside. I have covered it all in plastic so it will be easy to remove when dry.
We now have the fabric covered with stiffener, and placed on our body.
You will have to arrange the fabric to give you the ghostly shape you are looking for.

When you have achieved the desired Spirit effect, you will then leave it overnight to dry. I left mind outside until I was ready to go to bed, and then brought it in, and sat it in a chair so it could dry the rest of the way. After just those few hours outside it was already pretty stiff.

Our new Ghost has found a favorite spot in the living room. I think she looks quite at home now. As you can see, it is a very life like spirit, and just the right size for a spectral apparition.
I hope you have found a little inspiration from this video, as with all of the others I have posted. Let me know how it turns out for you, should you decide try it out for your home.

Wednesday, October 10, 2018

Make New Ghostly Friends for Halloween!

How to make a Primitive Halloween Ghost Trio for your Home!

You can view the You Tube Video, or read the steps, and see the photos below. Either way you are going to love making these easy little Ghost for your home.

There 3 little ghost are fun and easy to make for you, and the kids. They don't take very long, so the little one's are sure to stay interested, and you will have New/Old Halloween Decorations!

We begin with 3 strips of old lattice. We have sanded off the dirt. We wouldn't want to paint over dirt. We have also cut notches, and slants into the wood for our ghostly shapes.

Now we paint them white. I first tried white spray paint. The spray paint did not hold, so I used white house paint. Live and learn.

Next we paint the eyes, and mouths. They are already looking ghostly, but we still have more to do! Next we move on to giving them a more primitive look.
We begin sanding the ghost here and there to resemble wear. See how it gives them an "Old" look. These are 3 happy fellows! I think we are almost done!

With the sanding all finished, we are now ready to pick out just the right spot to display them... I almost forgot, I rubbed on a coat of sealer at the end, and let that dry over night.

Here we are in out new ghostly haunting spot! They can't wait to greet all of the little Trick or Treaters! See how easy that was!
Please hit the "Like" button on You Tube, and don't forget to Subscribe for more!

Thursday, October 4, 2018

Make A Primitive, Spooky Halloween Trio!


It's that wonderful, magical, and haunting time of year again, and I have come up with a very quick and easy project to help get you in the Halloween mood.

Just follow the easy step by step instructions below, and you will be haunting in no time!


Begin by choosing your piece of wood. Draw the desired Halloween shapes you would like. Choose the colors, and begin painting. Remember, it's a primitive piece, so you don't have to be perfect.

One by one the project begins to take shape. As you fnish painting the base color you can begin to see what it is going to look like. Now we can begin putting in the details!

Give your ghoulish creature eyes, nose, and a mouth. A little touch of red on their eyes adds to the spookiness. I dipped a tooth brush in white paint, and spattered the entire piece with it. It adds to the look.

I also outlined the cat with white paint to bring him out of the background. Add a little string to hang your piece by, and it's all ready to put out! Happy Haunting, and Please Subscribe to the You Tube Channel for more!!!

Wednesday, September 26, 2018

Halloween Decorations, How To Make a Primitive Mummy! Fast and Easy

I am always looking at decorations, and wondering if I could make that myself, and save money. This Primitive Halloween Mummy turned out to be very easy, and quick to do. It's so easy you could have the kids making their own in no time with things lying around the house.


Below I have included the photos for each step of the craft project.


Step 1: Pick out your 3 pieces for the Mummy (head, body, and base).

Step 2: Attach the head to the body. I used a metal piece with 4 holes, and drilled in 4 screws.

Step 3: Attach the body to the base. I used 2 screws going in through the bottom of the base.

Step 4: Wrap the Mummy in gauze, and add 2 eyes, and 2 arms. I placed Spanish moss here and there, and on the base just for an added "aged" effect. After that you are all finished, and ready to put your Mummy out for Halloween! See how easy that was. You may want to make an entire Mummy family it goes so fast. Happy Haunting!

Monday, September 10, 2018

A Fall Home Decorating Ideas Documentary

Fall is finally arriving, and it's time to get busy thinking of all of the ways you can decorate your home this year.


I have put together a few of my own ideas that I am using in the old Haunted House for Fall this year. Maybe you will become inspired by a few.
Below is the video with all of my ideas currently for this year, and a few photos just to fill up this page. Enjoy!


In the Kitchen

The Dining Room

The Living Room

Monday, April 2, 2018

Springtime in the Kitchen, it's time!

Let's Add a Little Color to the Place We See the Most.

Admit it, we're all tired of winter, and it's time for a bright and sunny change. How about we begin in the kitchen, at the table. It's a place we see a lot, and it's also a place which can alter our mood. We might as well alter that mood in the right direction.

No matter the color of your kitchen you can bring in the bright, and sunny colors of spring just by adding a little dash of yellow here and there. Yellow can quickly grab attention. Yellow is a bright that is often described as cheery and warm. Yellow can also increase the metabolism. Since yellow is the most visible color, it is also the most attention-getting color. Yellow can be used in small amounts to draw notice to an area you wish to feature.

I took this side table in the kitchen, which until recently had been decorated with an Easter theme, and changed it to spring. First I took away the Easter trimmings, and placed a large bowl with dried gourds, and a cardinal inside, and added a couple of other pieces that reminded me of spring. I also placed 2 glass vases with white sticks (leftover from Christmas) and put in just a few little yellow flowers, immediately drawing attention to that table, and it's happy setting.
Yellow Is Cheerful
For many people, yellow is seen as a bright and cheerful color. Advertisers may use it to not only draw attention, but also to evoke a sense of happiness.
Now on to the next setting... The main Table.

For the Kitchen table I have used blues, and whites. I gathered various old pieces, trays, a coffee pot, a floral pitcher, and white ceramic cherub candle holder among other things. I also put blue and white hydrangeas in the pitcher, and set out matching blue and white tea cups.
There is a blue runner on top of a cream tablecloth, and a white lace runner on the top of that, with cream lace doilies on either side.
Blue is described as a favorite color by many people and is the color most preferred by men. Blue calls to mind feelings of calmness or serenity. It is often described as peaceful, tranquil, secure, and orderly.
White is considered a powerful color in feng shui, a system of arranging your environment to create harmony. Colors are linked to certain feng shui elements and in the case of white, the element it expresses is metal. Wood and glass accents go extraordinarily well with white.

What ever colors you choose for your springtime table settings, be sure that it is those colors that make you truly happy, and relaxed. Home is suppose to be a haven, and a cluttered haven is not so good. There is a reason for "Spring Cleaning". Have fun with it, and make it a happy place!

Tuesday, March 20, 2018

Transforming a Dollar Store find into a Celtic Cross Amazing DIY

From Dollar Store Find to Celtic Cross in no time.

Amazing craft Projects from a great YouTube Channel.
Don't forget to Subscribe to the Channel for more Crafty Ideas!


We begin by using our plaster stencil to add a 3 dimensional design to the plain wooden cross. I centered the stencil on top of the cross, and applied the plaster to the stencil. Let dry overnight before moving on to the next step.
Apply your first color of acrylic paint. I have chosen black so I will have that darker color in the crevasses when it is finished. It also helps to achieve that aged look. Allow that color to dry.
For the next step, dry brush your next color on top of the black, being careful not to coat the entire cross, and cover the black. Remember we want that black to show at the end.
I also added a light beige to the top areas of the plaster to further highlight the details. After this step you are done, and ready to hang your new Celtic Cross in your home. How easy was that, and the effect is indeed amazing! Please don't forget to Subscribe to the YouTube Channel for more craft projects to come in the future.

Thursday, March 8, 2018

Easy Easter Crafts: Cardboard Cut Out and a Primitive Rabbit on Wood Hom...

Two East and Enexpensive Easter Crafts


First a Primitive Rabbit on Wood, and Second a Cardboard Cut Out Bunny


Like most of my homemade crafts, I like them to be done in a very short period of time, and made from things that I already have in the house, and recycled materials.


First for the primitive Rabbit on wood, I went down to the basement and chose a piece that I thought I could work with.
I sanded it, to clean off the dirt, and then drew the outline and painted my rabbit silhouette in black acrylic. Don't over think it, just draw and paint it.

Next I highlighted areas in white, like the arms, tail, mouth ears, and eyes. Finally, to give it an aged look, I sanded away some of the paint. I finished it by giving it a coat of polyurethane. Finally, the fun part, I hang it outside the front door.

On to the next bunny.
First I got my piece of cardboard, and drew the shape of bunny I wanted. Easy enough.

Next I was ready to cut out the bunny, and I painted it with a brown paint, but feel free to make it any color you choose.


I then spattered black paint using a tooth brush, cut and ties a ribbon around it's neck for decoration, and after that the bunny was all ready for Easter. If you choose to try out any of these craft projects please let me know how it went!

Monday, February 26, 2018

How to create your own Primitive and Stunning Easter Decorations DIY Crafts

Easter Decorating made easy. Primitive, and Stunning Easter Crafting in no time at all!
Looking for a not so typical Easter Craft Project that the entire family can take part in

Look no further, because here it is. Not only do these pieces look great, but they really are easy, and quick to do, and will certainly brighten up your home for the Easter Season. In fact they are nice enough to leave out all year long!


Though the video will explain everything you need to know step by step, I will also post some of the photos, and give a brief synopsis of what I have done to create these one of a kind little art projects.


After you have picked out your wood shapes, you can base coat them in black. Black is very important, because you will be uncovering some of that color latter in the process.
Dry brushed a little white on top of the black, tie a jute cord in the middle (if you wish it to look like two boards when you are finished). Next you can begin layering your colors. I chose brown, then beige, blue, and finally a little white.


For the birds nest, get a tool with a sharp end to scrape across the nest to simulate sticks. When you scrape it you will see the black underneath is what helps the nest to look like many separate sticks woven in to a nest.

Finally, spatter black on to the pieces with a tooth brush. Doing this will add depth to the piece, and believe me, it does a lot for the finished project.

Now you can remove the jute cord (if you used it) I also used 2 screws, and jute cord on the back to create a way to hang the boards.
I hope you will try this fun, and different kind of Easter Craft for your home, and please let me know what you thought of it!