Creative ideas, and decorative items, and techniques that I have used in my home, or would like to use. DIY, and how to post and videos of things that I am working on in my own house. I also encourage all of you to share your own thoughts, photos, and projects.
Who wouldn't want to live in a Castle?
I can't right now, but you and I can pretend, and paint one at the same time!
Join me from start to finish in painting one, and see where you end.
There is always time for another Easy Christmas Craft! Especially one that takes so little time to do. You will love this little Christmas Tree, and the ease of the project!
We are going to start the New Year out right, and add a little happiness to our living space!
It is done with a little creativity, and no money, so we can all do it if we want to.
I had a little free time the other day, and and needed a project to fill that time, so here we have the results of that. I hope you like these 3 things.
Our first piece was inspired by a packace I had received in the mail, and thought the box it came in had a very nice shape, and that something could be done with it...so came the other ideas.
I covered (glued) it with wrinkeled up white paper, and used my French Country stencile to decorate around it. Now I have a French Country pillar at no cost.
I placed a little metal bird upon it, and it took it's place next to a chair in the dining room. It took very little time, and it looks great!
Next I printed out a few sheets of French Country script, and covered a couple of books with it, placed them on top of a desk in the Library, put a metal birdcage on top, and it was finished. Looks very nice for a couple minutes of my time.
The last project was an old cigar box, and again I covered it in paper, and used my French Country stencil over it, let it dry, and it was ready to be placed on top of the chifferobe in the living room. All 3 of these projects took no money, or even much time to do, but bring just a little more fun to my living space, and will be able to decorate my home for some time to come. I hope you find a little inspiration from these, and the other ideas I have posted, and let me know what you think!
This is a very easy project for those of you who have furniture you no longer like, but cannot afford to replace it. It also doesn't have to be what, or how I am doing mine. You could just look up the look you like, and mimic that in paint. The rules/methods are going to be similar. Just dissect what it looks like, and transfer that look to your piece.
For my table, I started with a leftover from the previous home owners...discarded in the basement. I had cleaned it up, and used it in this bedroom, as I had other dark pieces, but I have now been changing the look of the room over this past year, and it was time for this table.
We began with a base coat of off white, and after letting that dry I painted a cream color here, and there. Top, bottom, sides, and the legs. I then followed that with strokes of black, grey, and gold to give it the appearance of being an old piece, painted over several times.
For an additional decoration I used one of my French stencils on the bottom, and gave it a coat of polyurethane to seal, and protect it, and I finished in one day! I am quite happy with how this turned out, and hope you take a little inspiration away, and begin a project of your own soo.! Let me know if you do, maybe even send along a photo of yours!
Remember to subscribe for more, another project in this very bedroom will be happening soon, and you don't want to miss it. Subscribers are notified when the new videos come out!
Fall Halloween Wooden Cats to decorate the home during the fall season. These are very simple to make out of left over boards, and so quick you won't believe it. #DIY #EasyCrafts #Fall #Halloween
In no time you can have this happy little primitive ghost prominently displayed in your home for Halloween, along with your other cherished things. All you have to do is watch the video below to learn how to make it, or read the instructions below the video. You will be proud to add this new addition to your Halloween Collection.
All you need for this slightly spooky ghost will be an old white sock. I always seem to have those, and with more than a few holes. You will also need a little coffee, or tea, filler for sock, a small stick, some twine, acrylic paint, and a thin marker.
Step One: Dip your sock in coffee, or tea, and let dry overnight. This is to give us that aged look, and it will smell very good for a little while. :)
Step Two: Stuff your sock with some sort of filler (cotton, old rags, whatever you have). This is to form the body of your sock ghost, and will be on the inside of the sock, so it won't be seen.
Step Three: Place your stick in the top, and tie it with twine. I'm not sure why, but it gives the ghost a nice look, and we're after a nice finished look. At this point you may wish to adjust the body of your ghost to give it a nice oblong shape. Unless you want a short round ghost. That would be nice too, or even a few with a variety of shapes.
Step Four: Choose the facial features, and colors you would like, and paint it on your sock ghost. If you notice, I chose eyes to resemble small buttons, but if you like, you could sew on real ones as well. Allow the paint to dry before going on to the next step. It won't take very long.
Step Five: Take your marker and simulate sewing lines. This is to also add to that old primitive look.
That's all! You are now ready to find just the right place in your home for your new Ghost to live. At least for a little while.
This is another project that would be easy enough for the kids, and still look very good in the home. Happy Haunting!
Think of the delight on the faces of your guest when they see your new resident spirit haunting your house. It is not as difficult as you think, and will certainly bring in that Halloween Spirit.
You can either choose to watch the You Tube Video above, or read the step by step directions below, or both! If you have not yet subscribed to the You Tube Channel, please do. I need all of the subscriptions I can get since You Tube changed their rules.
The first thing we do is make a shape for our head. I used plastic bags. Everyone has those, and usually too many. Here is a chance to put them to good use, and do a little de-cluttering of the kitchen at the same time.
Next we need a body. Here I used cardboard, but if you have a large doll, that would work too. Just cover it with plastic first.
When you have the shape you desire for the body, you can
attach the head.
You might wish to try out your fabric on your shape to see how it looks.
I think we are getting into the "Spirit" of things here,
and can now move on.
Next we move on to the fabric stiffener. I would say, if I should do this again, I will get the spray.
I think we are ready to begin the process. We will be pouring the liquid into the bowl, and placing the fabric into the bowl to cover it with the stiffener. You must cover all of the fabric. This part was very messy!
You are now ready to drape your cloth on to your body.
As you can see, I will be doing this outside. I have covered it all in plastic so it will be easy to remove when dry.
We now have the fabric covered with stiffener, and placed on our body.
You will have to arrange the fabric to give you the
ghostly shape you are looking for.
When you have achieved the desired Spirit effect, you will then leave it overnight to dry. I left mind outside until I was ready to go to bed, and then brought it in, and sat it in a chair so it could dry the rest of the way. After just those few hours outside it was already pretty stiff.
Our new Ghost has found a favorite spot in the living room. I think she looks quite at home now. As you can see, it is a very life like spirit, and just the right size for a spectral apparition.
I hope you have found a little inspiration from this video, as with all of the others I have posted. Let me know how it turns out for you, should you decide try it out for your home.
Let's Add a Little Color to the Place We See the Most.
Admit it, we're all tired of winter, and it's time for a bright and sunny change. How about we begin in the kitchen, at the table. It's a place we see a lot, and it's also a place which can alter our mood. We might as well alter that mood in the right direction.
No matter the color of your kitchen you can bring in the bright, and sunny colors of spring just by adding a little dash of yellow here and there. Yellow can quickly grab attention. Yellow is a bright that is often described as cheery and warm. Yellow can also increase the metabolism. Since yellow is the most visible color, it is also the most attention-getting color. Yellow can be used in small amounts to draw notice to an area you wish to feature.
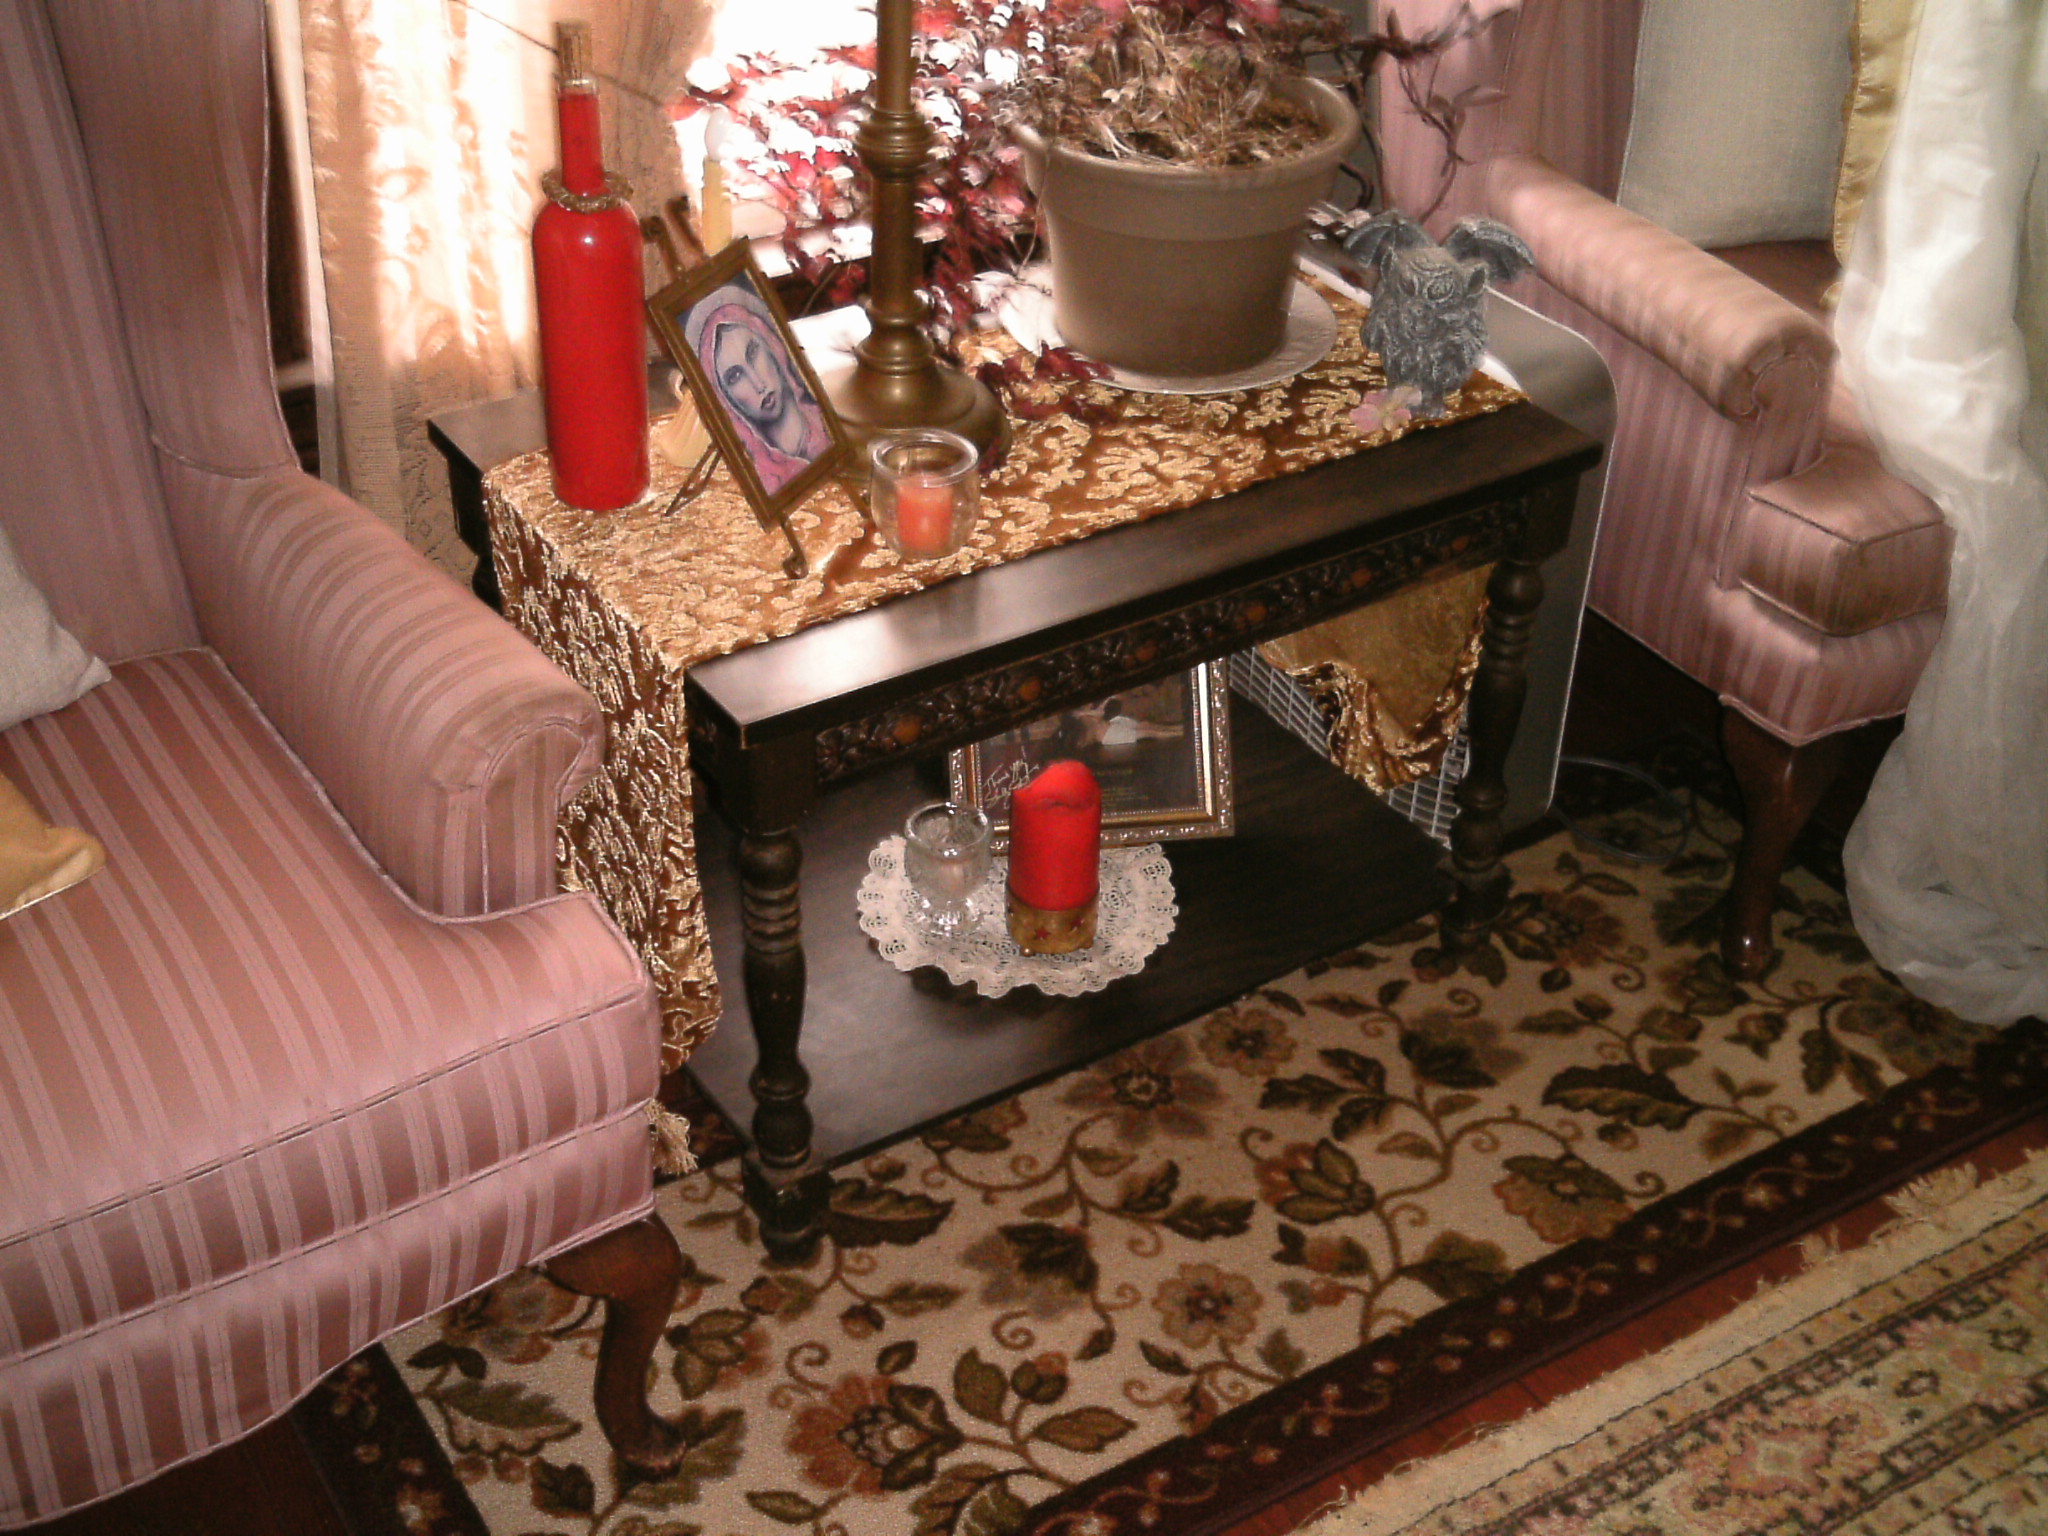
I took this side table in the kitchen, which until recently had been decorated with an Easter theme, and changed it to spring. First I took away the Easter trimmings, and placed a large bowl with dried gourds, and a cardinal inside, and added a couple of other pieces that reminded me of spring. I also placed 2 glass vases with white sticks (leftover from Christmas) and put in just a few little yellow flowers, immediately drawing attention to that table, and it's happy setting.
Yellow Is Cheerful
For many people, yellow is seen as a bright and cheerful color. Advertisers may use it to not only draw attention, but also to evoke a sense of happiness.
Now on to the next setting... The main Table.
For the Kitchen table I have used blues, and whites. I gathered various old pieces, trays, a coffee pot, a floral pitcher, and white ceramic cherub candle holder among other things. I also put blue and white hydrangeas in the pitcher, and set out matching blue and white tea cups.
There is a blue runner on top of a cream tablecloth, and a white lace runner on the top of that, with cream lace doilies on either side.
Blue is described as a favorite color by many people and is the color most preferred by men. Blue calls to mind feelings of calmness or serenity. It is often described as peaceful, tranquil, secure, and orderly.
White is considered a powerful color in feng shui, a system of arranging your environment to create harmony. Colors are linked to certain feng shui elements and in the case of white, the element it expresses is metal. Wood and glass accents go extraordinarily well with white.
What ever colors you choose for your springtime table settings, be sure that it is those colors that make you truly happy, and relaxed. Home is suppose to be a haven, and a cluttered haven is not so good. There is a reason for "Spring Cleaning". Have fun with it, and make it a happy place!
First a Primitive Rabbit on Wood, and Second a Cardboard Cut Out Bunny
Like most of my homemade crafts, I like them to be done in a very short period of time, and made from things that I already have in the house, and recycled materials.
First for the primitive Rabbit on wood, I went down to the basement and chose a piece that I thought I could work with. I sanded it, to clean off the dirt, and then drew the outline and painted my rabbit silhouette in black acrylic. Don't over think it, just draw and paint it.
Next I highlighted areas in white, like the arms, tail, mouth ears, and eyes. Finally, to give it an aged look, I sanded away some of the paint. I finished it by giving it a coat of polyurethane. Finally, the fun part, I hang it outside the front door.
On to the next bunny.
First I got my piece of cardboard, and drew the shape of bunny I wanted. Easy enough.
Next I was ready to cut out the bunny, and I painted it with a brown paint, but feel free to make it any color you choose.
I then spattered black paint using a tooth brush, cut and ties a ribbon around it's neck for decoration, and after that the bunny was all ready for Easter. If you choose to try out any of these craft projects please let me know how it went!
Easter Decorating made easy. Primitive, and Stunning Easter Crafting in no time at all!
Looking for a not so typical Easter Craft Project that the entire family can take part in
Look no further, because here it is. Not only do these pieces look great, but they really are easy, and quick to do, and will certainly brighten up your home for the Easter Season. In fact they are nice enough to leave out all year long!
Though the video will explain everything you need to know step by step, I will also post some of the photos, and give a brief synopsis of what I have done to create these one of a kind little art projects.
After you have picked out your wood shapes, you can base coat them in black. Black is very important, because you will be uncovering some of that color latter in the process.
Dry brushed a little white on top of the black, tie a jute cord in the middle (if you wish it to look like two boards when you are finished). Next you can begin layering your colors. I chose brown, then beige, blue, and finally a little white.
For the birds nest, get a tool with a sharp end to scrape across the nest to simulate sticks. When you scrape it you will see the black underneath is what helps the nest to look like many separate sticks woven in to a nest.
Finally, spatter black on to the pieces with a tooth brush. Doing this will add depth to the piece, and believe me, it does a lot for the finished project.
Now you can remove the jute cord (if you used it) I also used 2 screws, and jute cord on the back to create a way to hang the boards.
I hope you will try this fun, and different kind of Easter Craft for your home, and please let me know what you thought of it!
Looking for an easy DIY Craft for you and the kids?
How about this primitive Rabbit? It looks great, it's very easy, and may cost you nothing to do. Also, if you have kids, it's simple enough that they will find it fun too!
A Primitive Easter Rabbit, or even for an everyday decoration in the home, that you can make by yourself in about an hour. This is a very easy no cost, or low cost craft that is fun, and quick for anyone to try out.
Begin by drawing your selected image onto the piece of cardboard. I know, it's cardboard, but don't worry, it's going to look great when you are finished. You won't believe your eyes.
Paint your image. Don't worry about the areas that show through underneath, it will only add to the "aged" look of the piece. After all, it is a primitive, and that is what gives them their charm.
Next you can add your shading, and spots of "wear" to the piece, and cut it out. Note: For me, cutting it out was actually the hardest part of the entire prokect. Now the fun part! It is ready for a little fancy decorating, as you see fit. I used a few twigs from the yard, Spanish moss, and left over ribbon for mine.
You are all finished, and ready to put it on display. These pieces are very fast, and also easy enough for kids to do as well.
Below are a few more Rabbits that I have added to my collection, and as you can see, they are wonderful, fun, and festive! I hope you try this project, and as always, if you do...let me know!